Insekta-VM VM Management
How to set up a VM Resource
First of all, you have to add the VM image to a folder (called vm-images) within the insekta-vm project (path: insekta-vm/insektavm/vm-images).
Furthermore, you have to open the admin page of the running insekta-vm project. Now you have to login in as admin (superuser) to set up a VM resource (or with a user with the required permissions). The creation of an admin account is already described here.
Now you have to open the resources, where you can add a new VM resource:

The resource name must be the same as the ‘vm_resource’-property value which is configured within the metadata.json (see here). Afterwards, you have to set up a VM template (see next step).
How to set up a VM Template
Now you can create a VM template:
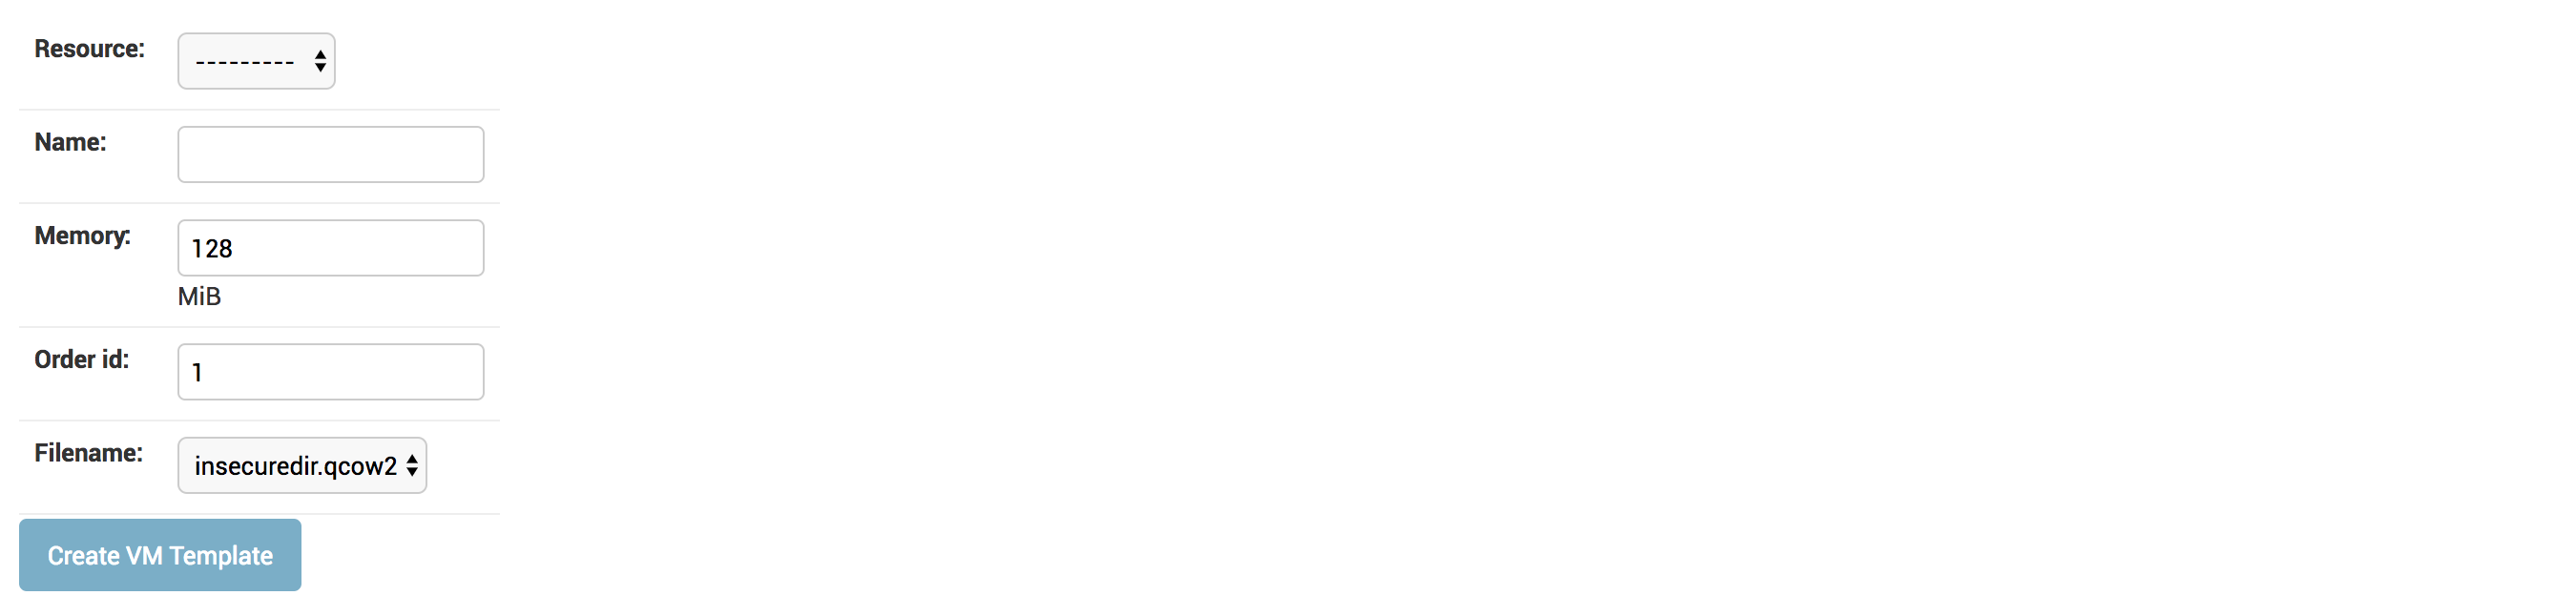
Firstly, you have to select your VM resource. Then you can give a name to the VM template. Afterwards, you have to specifiy the memory which is required for running the VM and an ‘order id’ (default: 1). The ‘order id’ is used if you have several scenarios, then you can define to which scenario the corresponding VM template belongs. Finally, you have to select the filename of the VM image. Now it’s done. ;)