Insekta-Web Scenario Management
In the filesystem, a scenario is in essence just a directory containing the description of the scenario in html format, some metadata in json format and static files, like images.
Scenarios in detail
A sample directory structure might look as follows:
Beispielszenario
├── meta.json
├── scenario.html
└── static
    └── insekta.png
scenario.html
This file contains the textual description of the scenario encoded in html format, which is enriched by Insekta specific templates. In most cases, a scenario comprises:
- a rough description of the context
- a concise description of the task to be solved
- a question whose answer - called secret - serves as a proof for solving the scenario
- hints on solving the scenario
- further links and references
In the following, a non-exhaustive list of html tags and templates is depicted:
headings
<h3>Allgemeines</h3>
paragraphs
<p data-comment-id="hncopwog">
    Ein Thema wird in Insekta intern als "Szenario" bezeichnet. Dies ermöglicht
    die Abgrenzung zwischem dem Thema, das inhaltlich behandelt wird (das "Thema")
    und dem Thema, das die technische Einheit (als Bündel von mehreren Dateien)
    darstellt (das "Szenario").
</p>
images
<p><img src="{{ media('insekta.png') }}" alt="Insekta-Logo" title="Insekta-Logo"></p>
You can also set up challenges in form of multiple/single choice or fill-in-the-blank questions:
single-choice
{% call task(identifier='die_erde', type='single_choice', title='Astronomie') %}
    <p>Die Erde ist ...</p>
    {% call choice(name='flat') %}Eine Scheibe{% endcall %}
    {% call choice(name='sphere', correct=True) %}Eine Kugel{% endcall %}
    {% call choice(name='other') %}Etwas anderes{% endcall %}
{% endcall %}
You have to mark the correct answer with a flag, i.e., correct=True.
multiple-choice
{% call task(identifier='cookiemonster', type='multiple_choice') %}
    <p>Welche Aussagen treffen auf das Cookiemonster zu?</p>
    {% call choice(name='cookies', correct=True) %}Er mag Kekse{% endcall %}
    {% call choice(name='nocookies', correct=False) %}Er mag keine Kekse{% endcall %}
    {% call choice(name='morecookies', correct=True) %}Er möchte mehr Kekse{% endcall %}
{% endcall %}
fill-in-the-blank
{% call task(identifier='hitchhiker', type='question') %}
    <p>Was gibt der Supercomputer "Deep Thought" auf <em>die</em> Frage als Antwort?</p>
    {{ answer(expected='42') }}
{% endcall %}
Other functionalities which can be used:
source code highlighting
{% call code(language='python') %}
def fib(n):
    a, b = 0, 1
    while n > 0:
        a, b = b, a + b
        n -= 1
    return a
{% endcall %}
integrate JavaScript and CSS
{% call code(language='json') %}
{
    "static": {
        "css": ["example.css"],
        "js": [["blockcipher", "prp.js"], "paddingoracle.js"]
    },
}
{% endcall %}
virtual machine
IP-address of the started virtual machine:
{% call code(language='html+jinja') %}
    <a href="http://{{ vm_ip('main') }}">Link to the VM</a>
{% endcall %}
If the machine is not started, then a placeholder is used.
Your IP-address within the VPN subnet:
{% call code(language='html+jinja') %}
    <p>Your IP-address within the VPN subnet is {{ vpn_ip }}</p>
{% endcall %}
Check if virtual machine is started:
{% call code(language='html+jinja') %}
    {% if vms %}
        <p>Your virtual machine has been started. You can reach it at {{ vm_ip('main') }}.</p>
    {% else %}
        <p>Please start the virtual machine in order to solve the scenario.</p>
    {% endif %}
{% endcall %}
A more detailed list of available html tags and templates is available here.
metadata.json
This file contains the metadata of the scenario encoded in json. A sample file might look as follows:
{
    "title": "Beispielszenario",
    "is_challenge": false,
    "show_ethics_reminder": false,
    "required_components": [],
    "static": {
        "css": [],
        "js": []
    },
    "vm_resource": "my-virtual-machine.qcow2"
}
title- The title of the scenario.
vm_resource- The name of the VM resource associated with this scenario as configured in insekta-vm.
static
This directory comprises all static files that are reference in the scenario.html. For example, to display additional images in the scenario as detailed above.
Loading Scenarios
Registering is easy:
./manage.py loadscenario <name of your scenario>
If you want to update the image, just call it again. The name of your scenario is the name of the folder. You also have to use this name as an identifier when setting up the scenario in the Insekta admin backend.
Warning
Updating a scenario destroys all existing domains that belong to this scenario. However, submitted secrets are not lost.
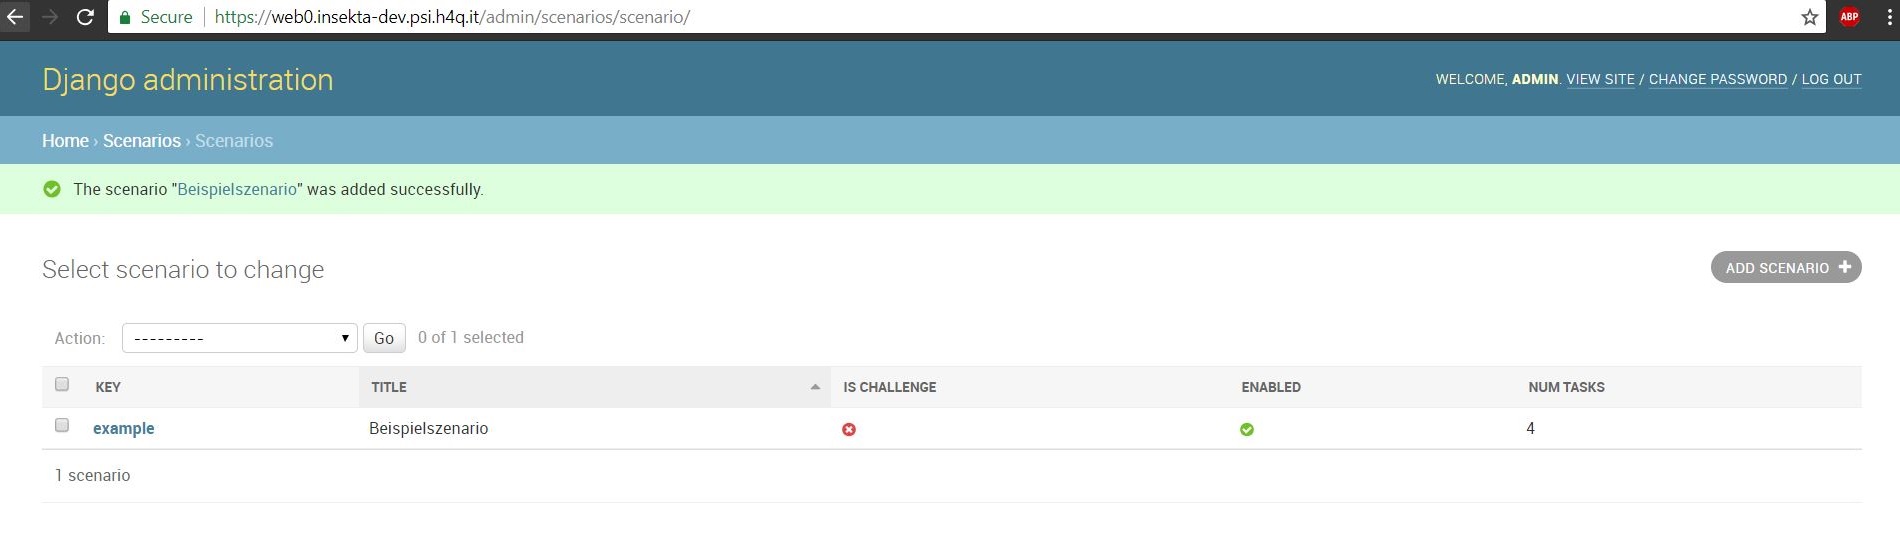
Creating a Scenario
First, you have to create a scenario in the insekta-web admin backend at the item Scenarios in section Scenarios. Your screen should now look similar to the picture below:

After clicking the ADD SCENARIO button located in the top right, you screen should then look as follows:

Here, you have to fill the mandatory fields:
Key: <name of your scenario>
Title: Beispielszenario <for example>
Num tasks: <arbitarily>
Enabled: <checked>
The scenario is created once the SAVE button located in the bottom right is clicked.
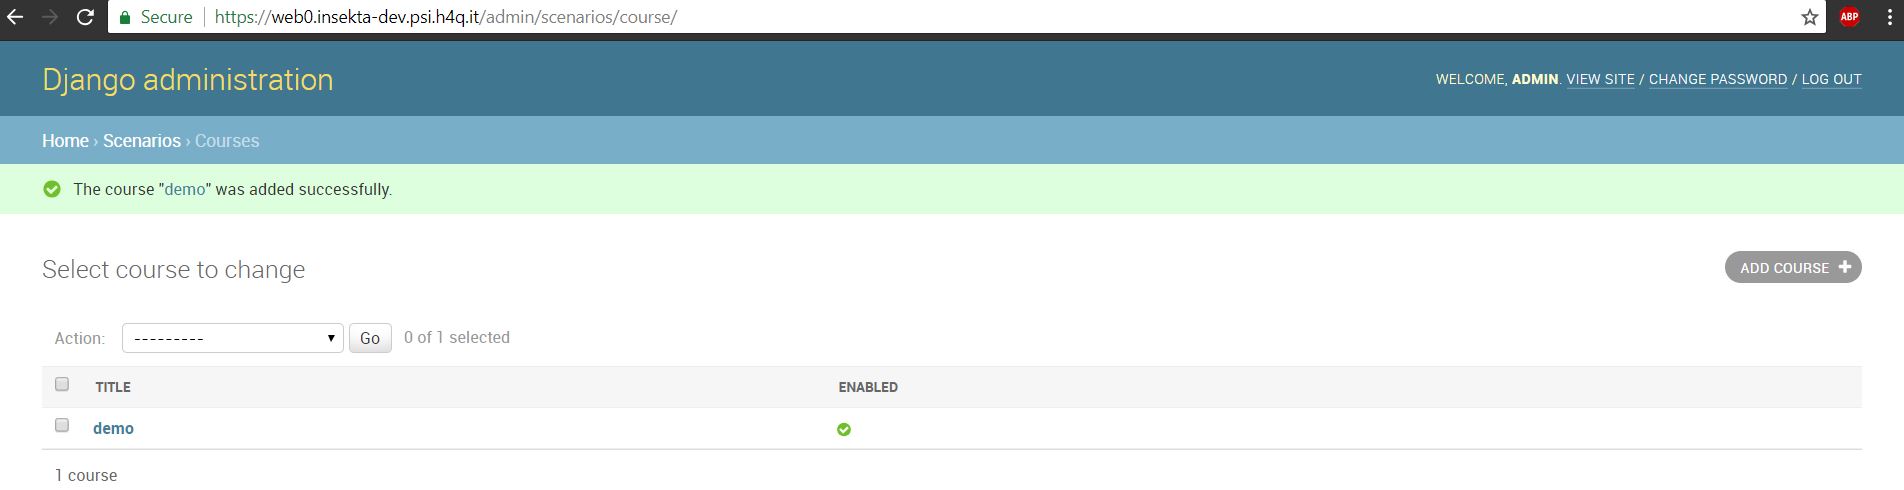
Creating a Course
In order to create a Scenario Group, you have to create a Course first. Navigate to the item Courses in section Scenarios. Your screen should now look similar to the picture below:

After clicking the ADD SCENARIO button, your view sould then look similar to the picture below. Here, you have to fill the mandatory fields (highlighted in a red box). Make sure to select the Enabled checkbox.
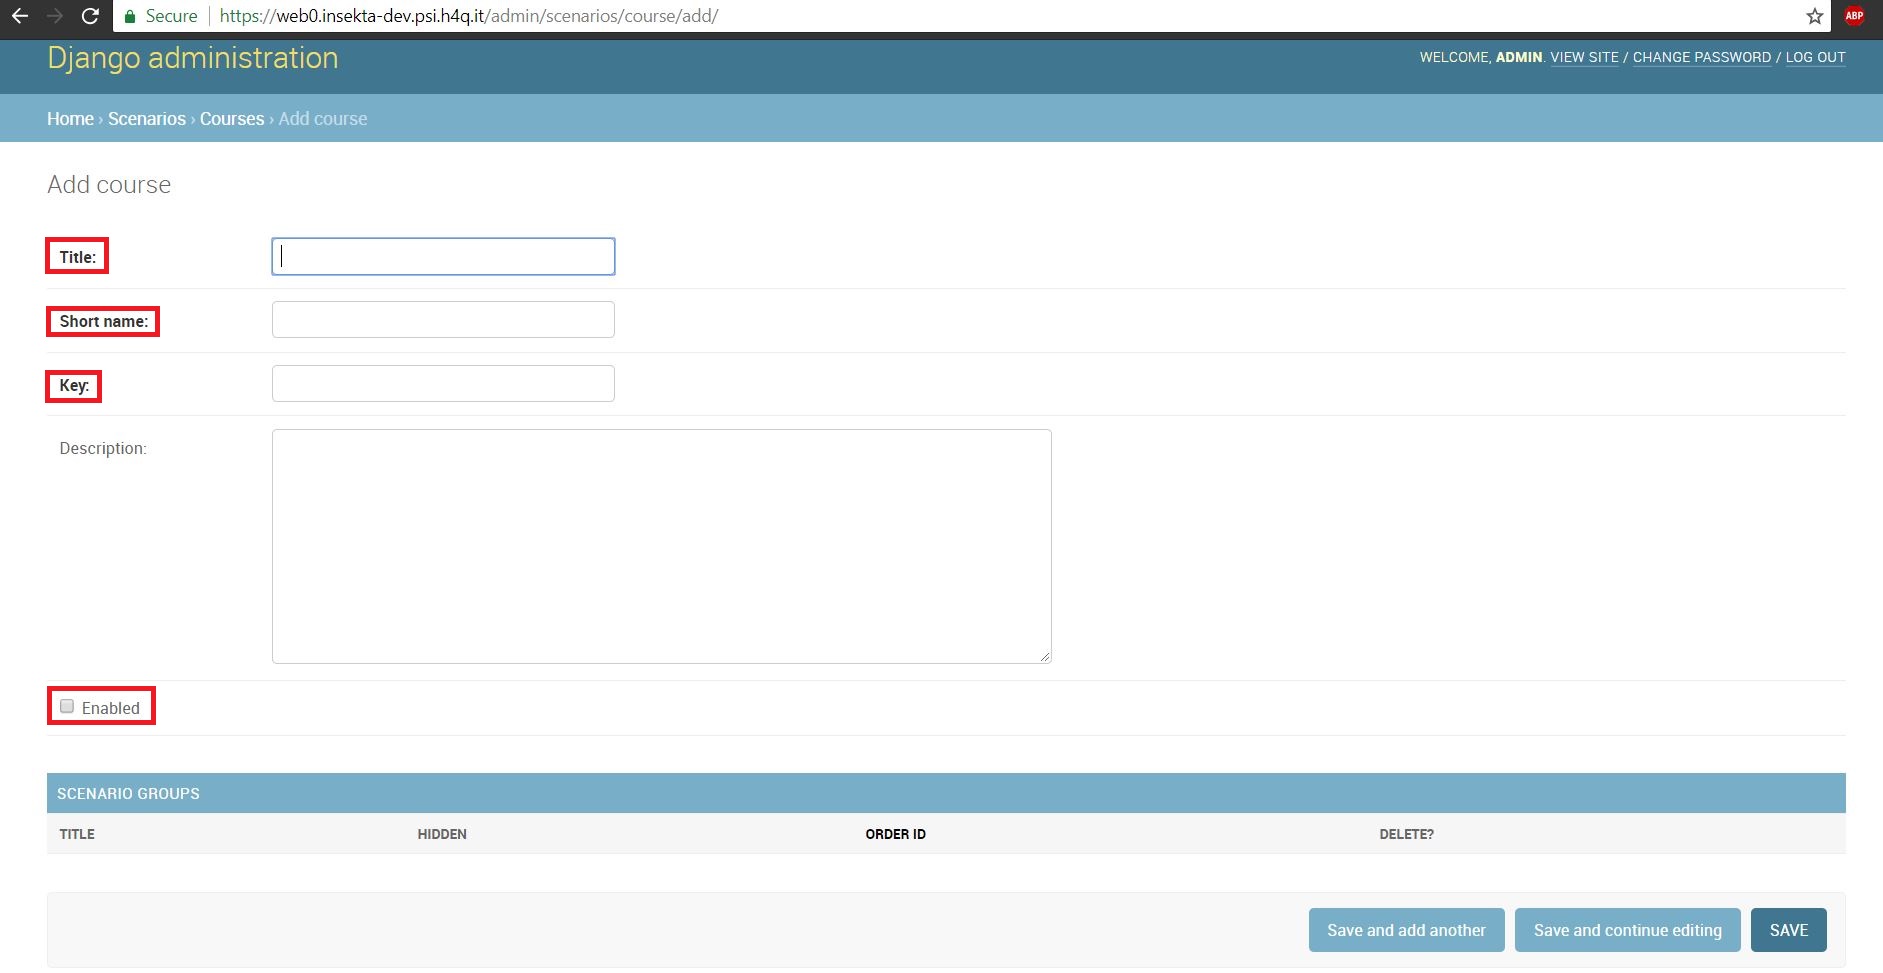
The course is created once the SAVE button is clicked. This also forwards you to the next view as depicted below:
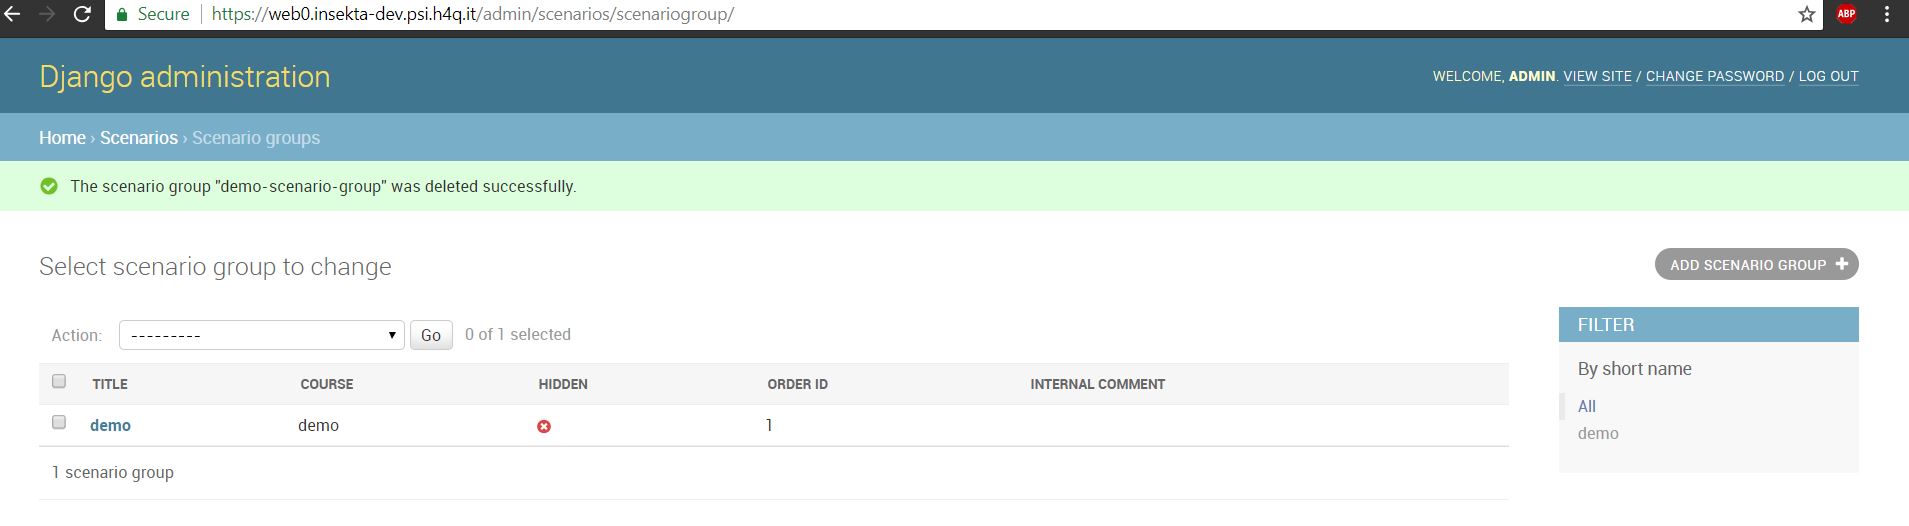
Creating a Scenario Group
After creating a scenario and a course, you can create a Scenario group. To do so, navigate to the item Scenario groups in section Scenarios. Your screen should now look similar to the picture below:
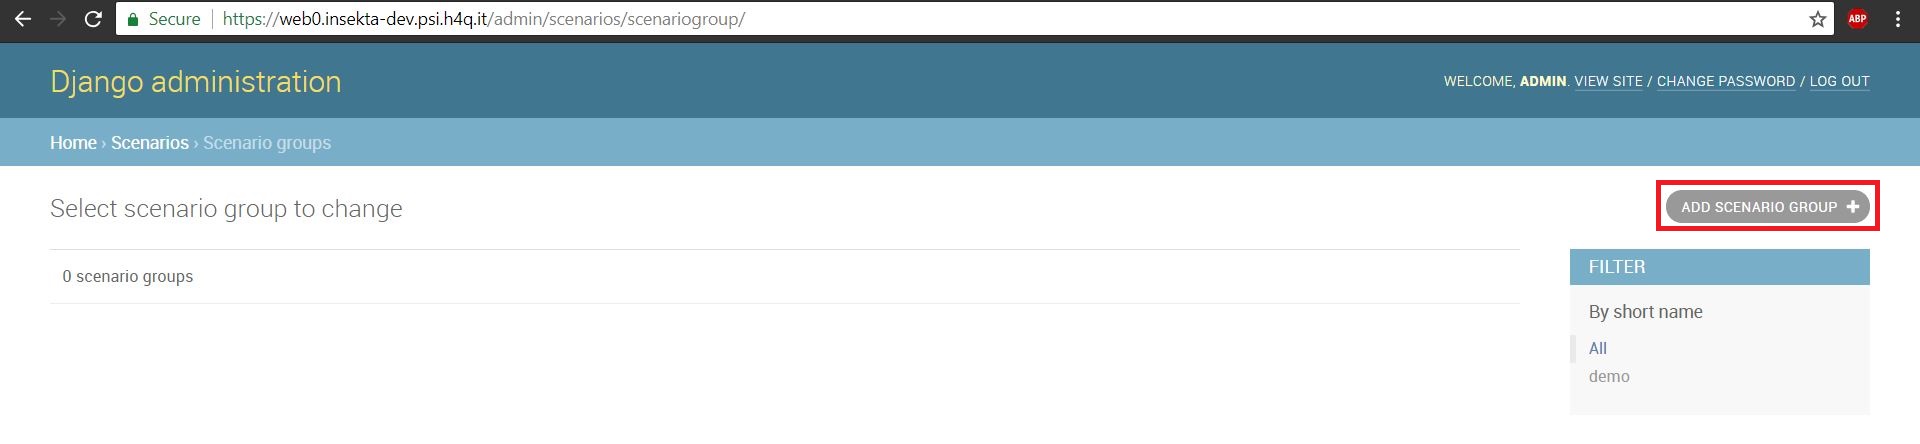
After clicking the ADD SCENARIO GROUP button in the top right corner, you are forwarded to the next view.
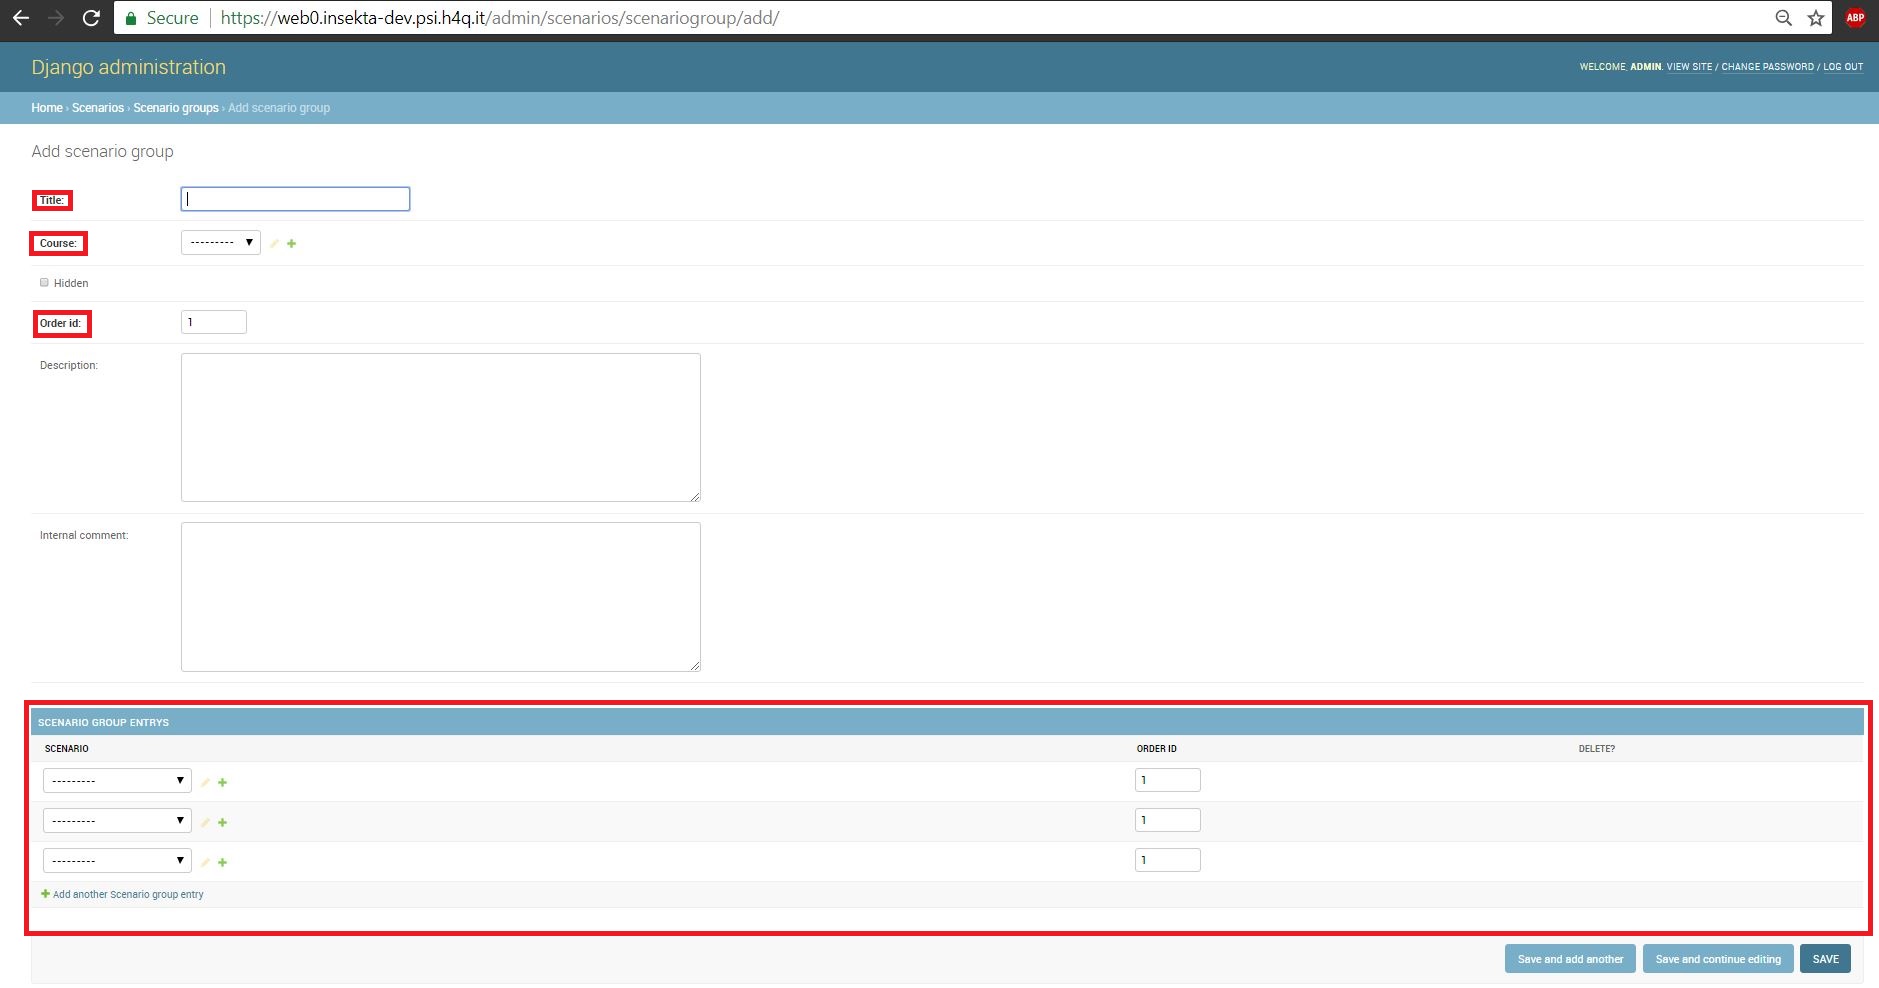
As Course and Scenario are mandatory fields, these had to be created before. When clicking the SAVE button, the Scenario group gets created and your are forwarded to the list of scenario groups: